The Steelhead's bomb has 300hp and will insta kill the Steelhead once splatted.
When a player splats the bomb, it can also damage nearby enemies.
A direct hit from it's bomb does 180 damage which is an instant kill.
Any damage to it's bomb is kept on subsequent bombs.
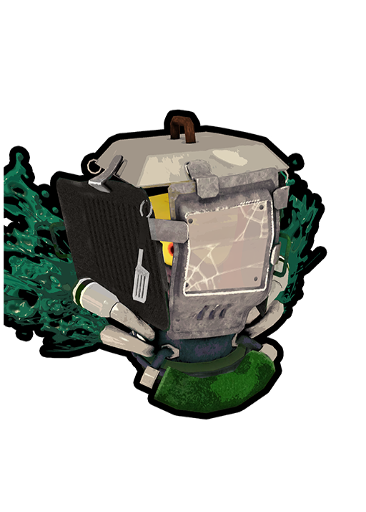
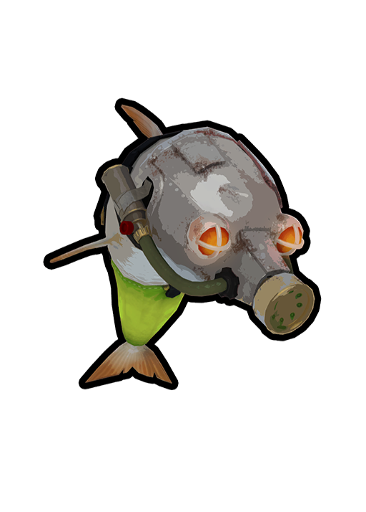
Drizzler
HP - 900
The drizzler's missle has 100hp
The rain does 0.3 damage per frame, which equates to 18 damage per second
Drizzler's have set points within a map that it can jump to. After sending two missles
out, it will jump to the point closest to the nearest player.
Damaging the missle will send it opposite from where you hit it. This can be used to instantly
kill the Drizzler, or damage other Salmonoids.
While drizzlers are in the air, you can shoot them from below.
Big Shot
HP - 1,200
The cannon ball sends two shock waves that each do 40 damage.
You can dodge the shockwaves by jumping over them.
Only one Big Shot cannon will spawn per wave. Every Big Shot that spawns will
go to that cannon.
The cannon can fire Golden Eggs back to the basket. This can be incredibly helpful
but too much reliance can leave you vulnerable.
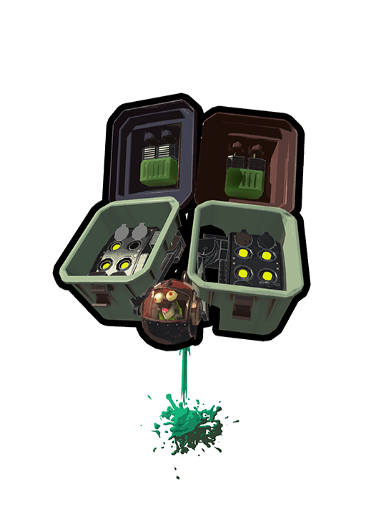
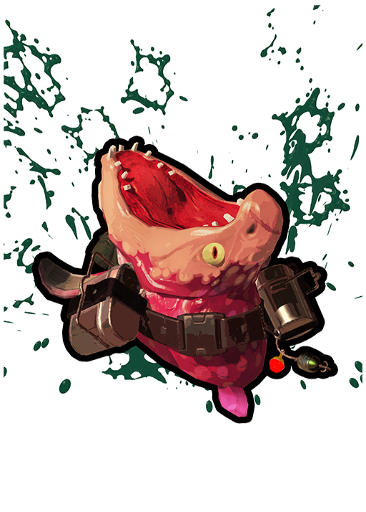
Flyfish
the devil
HP - 360
A missle from a flyfish deals 150 on direct contact, making it an
instant kill. The ink from it's jet propulsion can also damage you.
It sends 4 missiles from each missile launcher and can lock on to 2 players
The following specials can destroy the launchers:
Crab Tank (cannon shots)
Reefslider (if at level or above)
Triple Splashdown
Inkjet
The following specials can destroy the cockpit:
Killer Wail
Triple Inkstrike
Booyah Bomb
Kraken Royale (jump while under the cockpit)
The Explosher and Grizzco Dualies dodge roll can destroy launchers,
and the Grizzco Slosher and Grizzco Splatana can destroy the cockpit.
Steel Eel
HP - 600
Each collision with it's body does 50 damage. You can still be damaged during
it's death animation.
If it's aggro is on you, cordinate your movement to lead it's head
away from and expose it's backside to other players.
You can slide through the ink sprayers with Reefslider.
Be careful not to lure Steel Eel's too close to the basket, as it can quickly become
overwhelming.
Bombs explode on contact with it's body.
Scrapper
Sheild HP - 600
Driver HP - 500
The scrapper does 30 damage when it runs into you.
When a scrapper is shot, it will stop and turn to face the player.
If the scrapper is stunned, it takes 5 seconds for it's sheild to repair. If it's not stunned,
it takes 2 seconds after the last shot before it starts moving again.
It can be really helpful to stun a Scrapper with it's back facing another player.
Generally keep in mind where it's back is when you're attempting to stun it. Avoid backing it into a wall
where it becomes difficult to actually damage the driver.
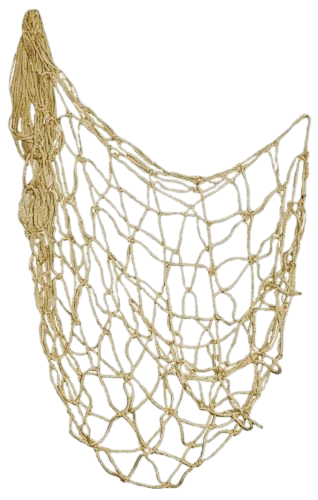
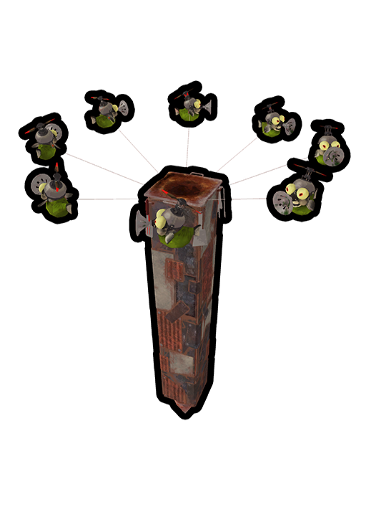
Fish Stick
HP - 32 (per smallfry, 8 total)
Each map has set locations for Fish Sticks to land
If all the smallfry are splatted before the Fish Stick lands, the piller breaks apart.
Do not ignore sticks that land close to the basket. You can choose to ignore them if they are far from it.
Flipper-Flopper
HP - 1200 (armored)
HP - 300 (no armor)
Any player within it's ring when it dives is instantly splatted.
Bosses splatted within the ring can help paint it
It can be damaged any time it's above ink, which includes when it's head starts poking out.
Make sure these aren't above you while climbing walls.
Maws
HP - 1200
Swallowing a bomb instantly splats it.
Any player is instantly splatted if caught in their jaws.
The Grizzco Splatana is the only weapon that can damage a Maws while it's submerged.
These are one of the easier, low-risk bosses to lure.
It is not recommended to use specials for Maws. Other bosses should take priority.
Maws can still splat players when they've just activated Inkjet or Booyah Bomb
Slammin' Lid
HP - 500
If a player passes through it's force field, it will slam down,
instantly splatting anything - including salmonids - under it.
If a player is on top of the saucer for too long, it will swing a laddle to knock them off.
Bombs explode on contact with the force field
When defeated, it will damage enemies under it when as it lands.
It can be really helpful to use these to splat other bosses.
Stinger
HP - 60 per pot (7 pots totaling to 420 ehehheheheh)
It's jet attack, similar to the Killer Wail, will attack
the furthest player with 1 damage per frame.
Sustained contact with the jet will splat a player within 1.4 seconds